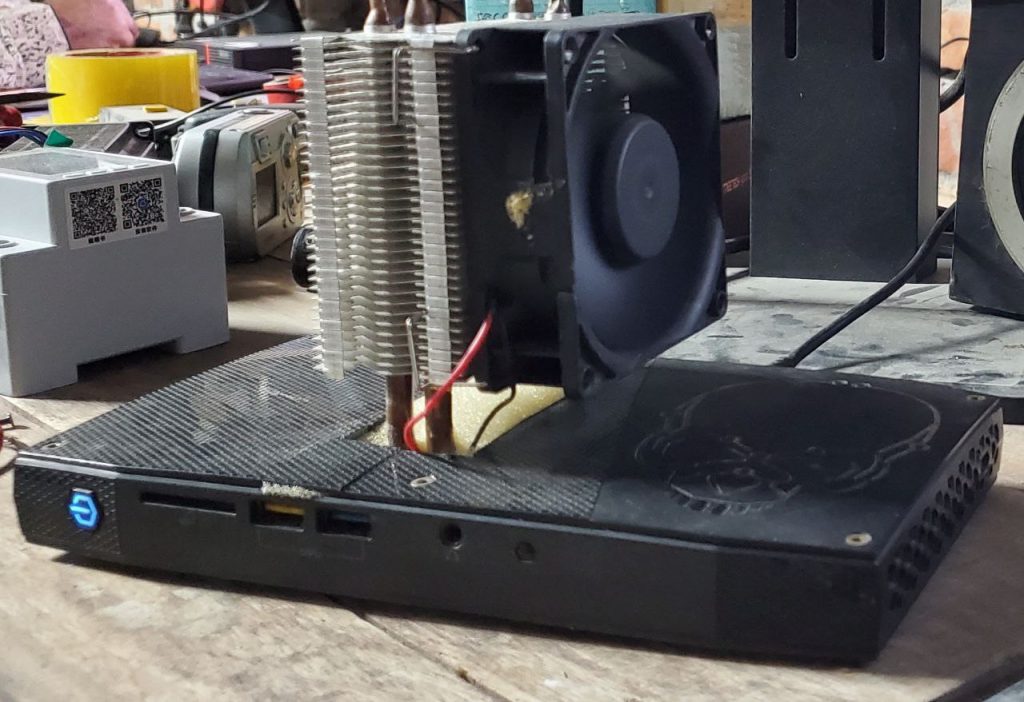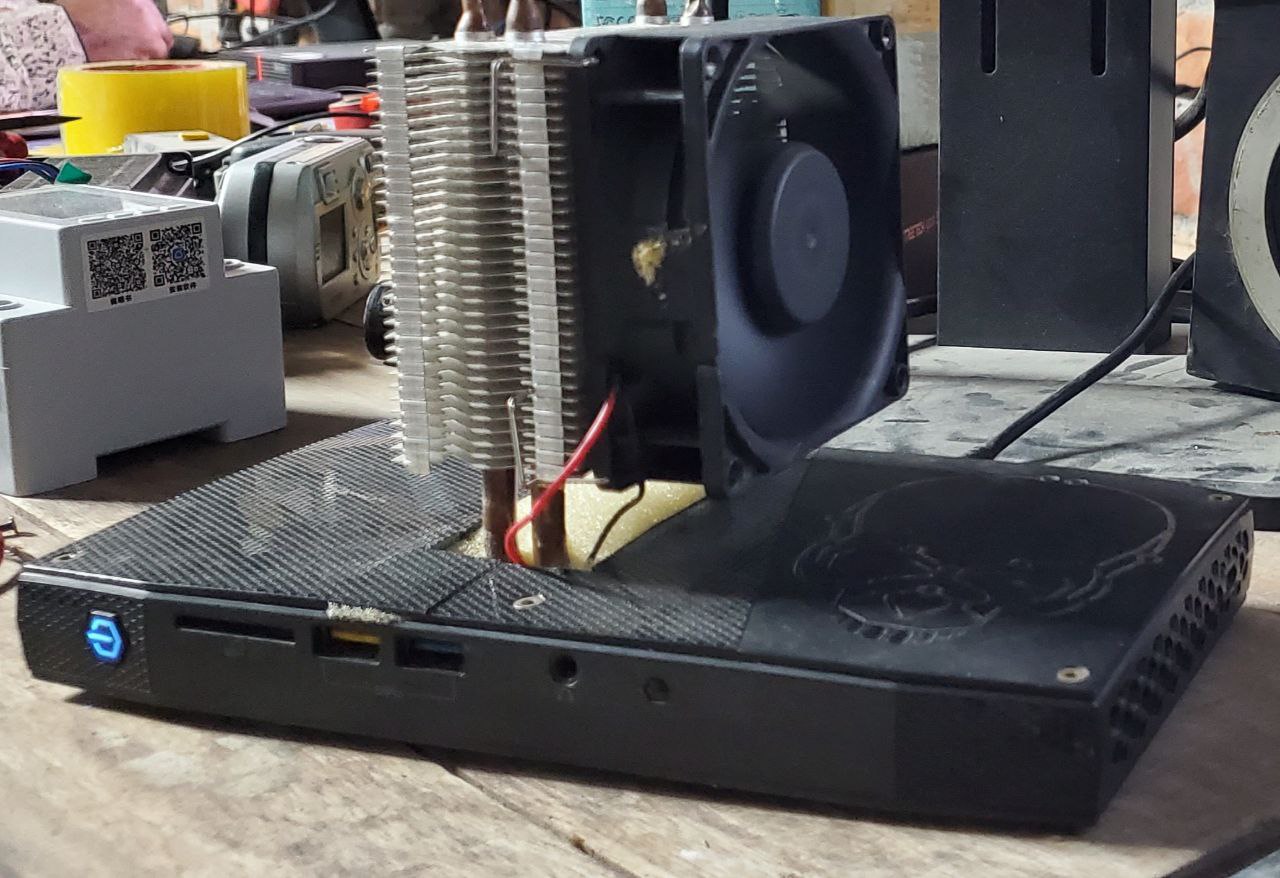
I have had an Intel Skull Canyon NUC for a long time. It has a tendency to overheat. Sometimes it overheats so much that it restarts or thermally shuts down. I had a plan for a long time to remove its small heat pipe heatsink and small blower fan and add a bulky heatsink and large fan to cool it down properly. As it has a Core i7 6th generation processor, it definitely consumes a lot of power, which generates a significant amount of heat.
I had a fan lying around that was removed from a Peltier cooler unit. However, the fan’s surface was slightly larger than the available space around the processor die, which was smaller than the heatsink surface. So, I had to use a hand grinder to grind a little on two sides of the heatsink.
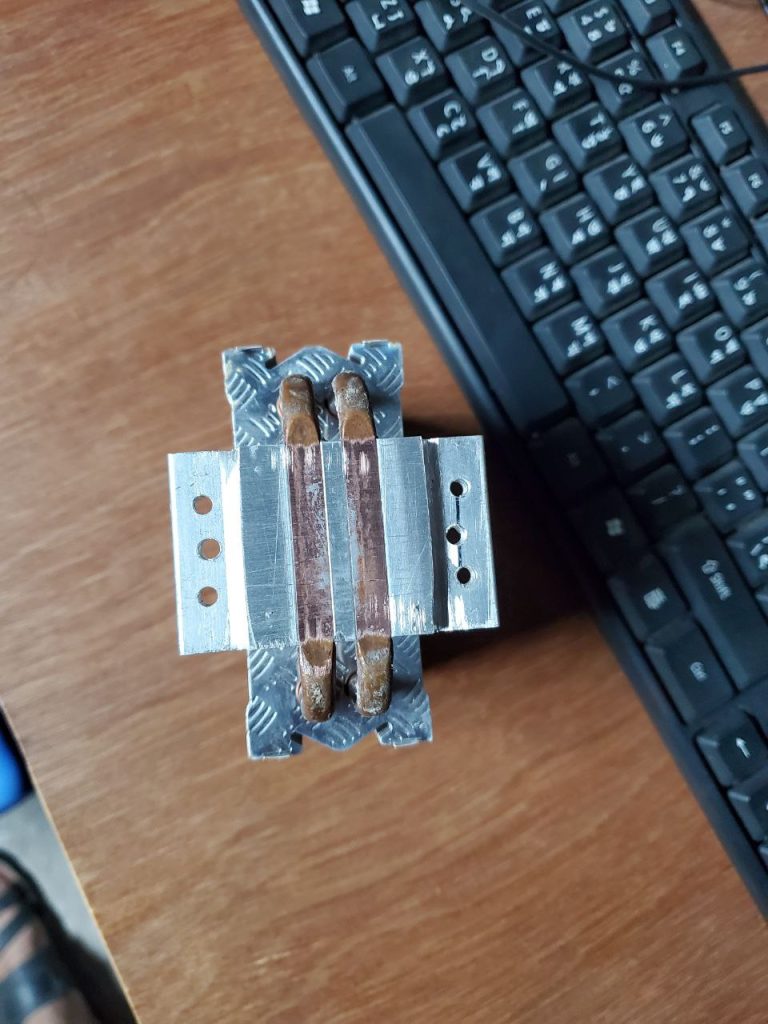
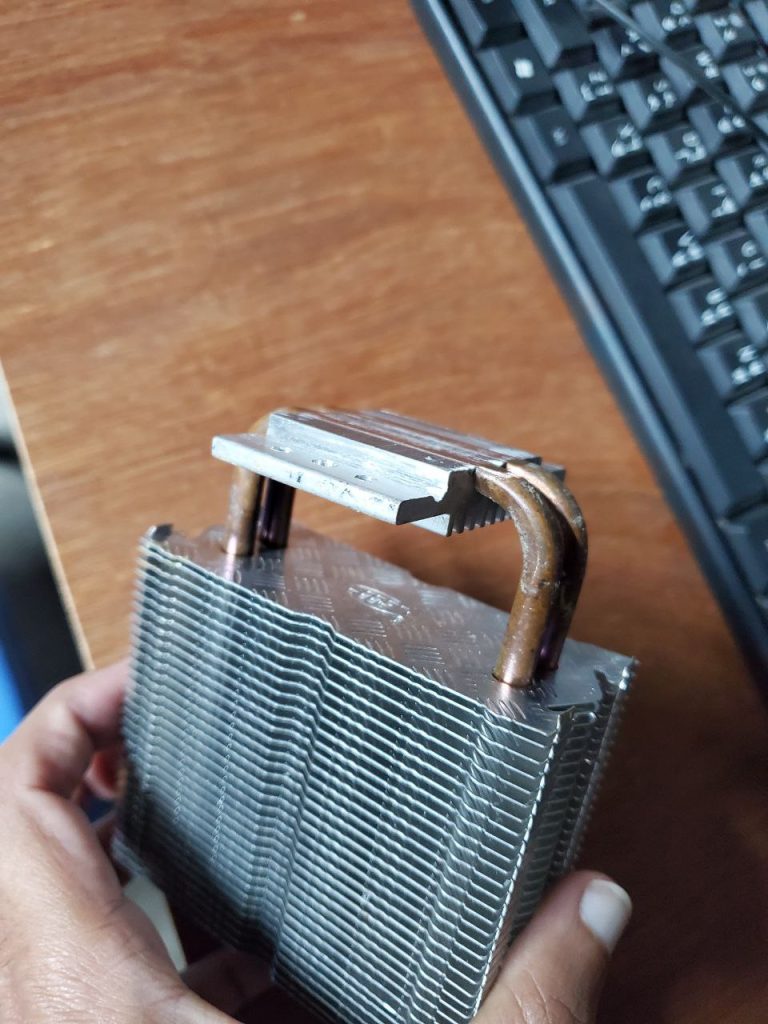
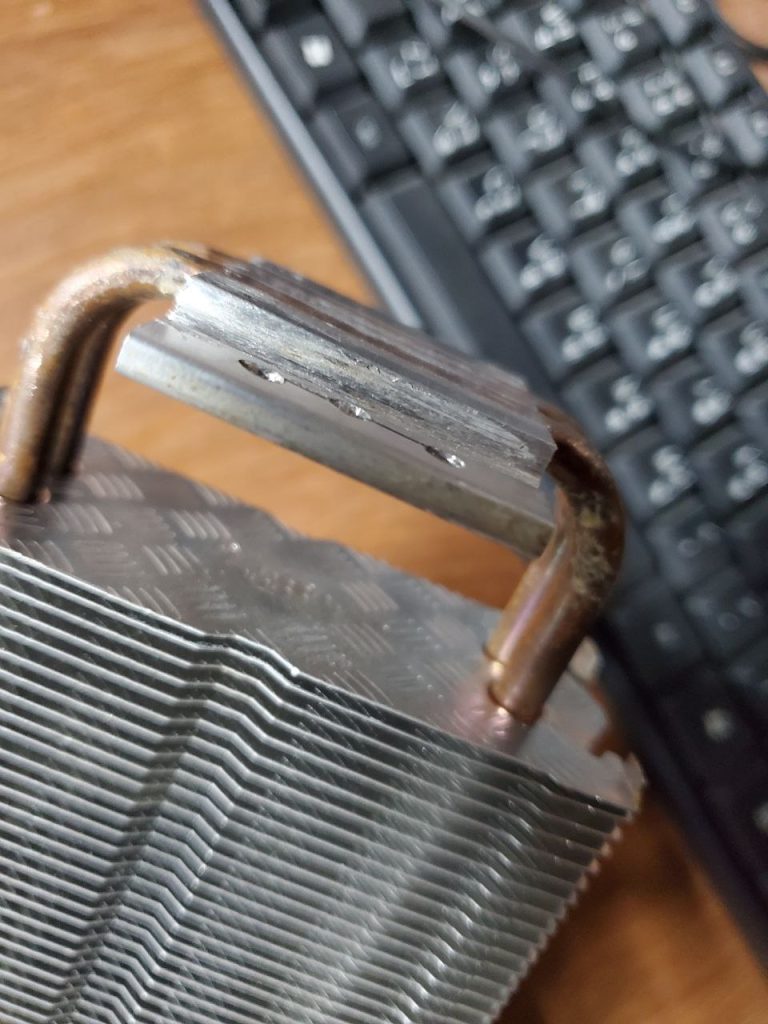
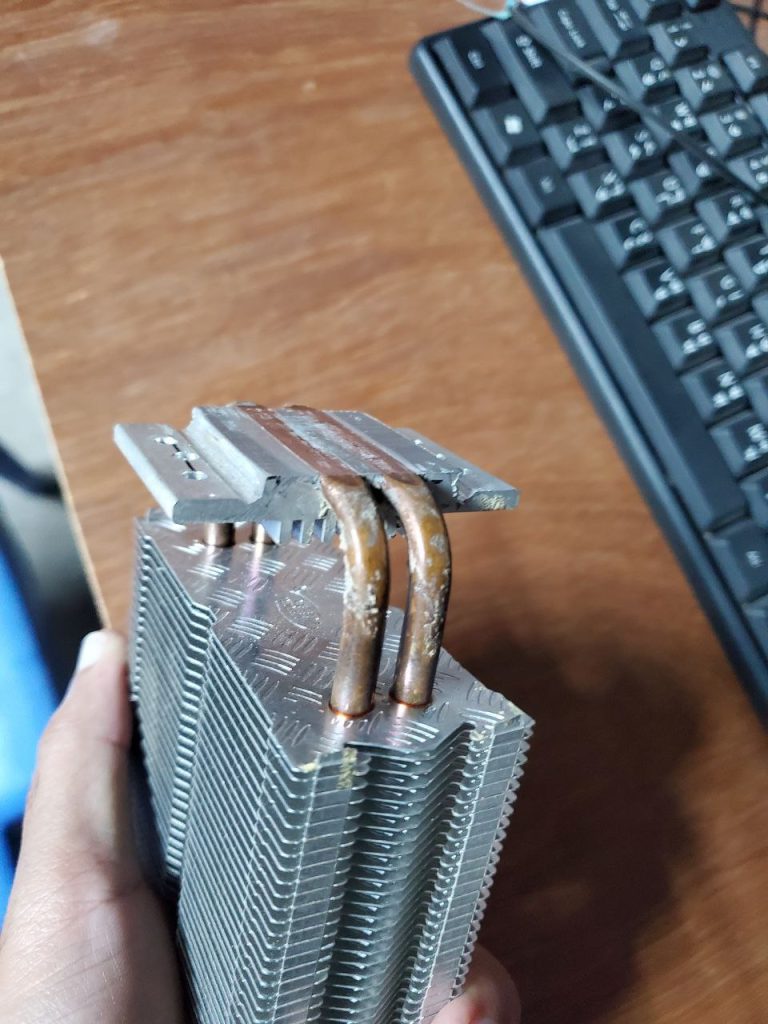
After Polishing
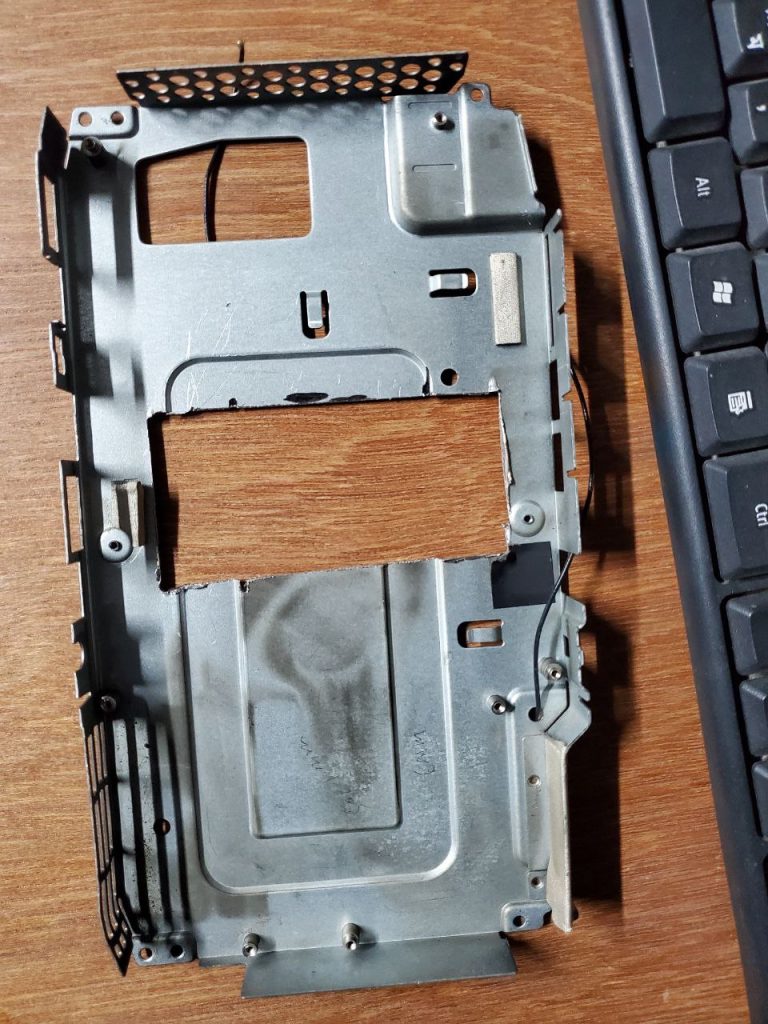
After preparing the heatsink, I cut the top cover above the CPU. There were no exact measurements, but Intel provided some hints. They placed three rubber pieces to press down the existing heat pipe heatsink over the CPU die. I drew a square along the outside of the three rubber pieces, then removed them. Using a hand grinder with a cutting disc (or a Dremel, if preferred), I made a square hole in the top metal cover. Then I tried to insert the heatsink base by tilting it. The hole had to be slightly smaller than the heatsink base. If the heatsink base couldn’t fit, I made the hole slightly larger and tried again. Once it could be inserted, as shown in the images below, I cleaned the burrs using a file and sandpaper.
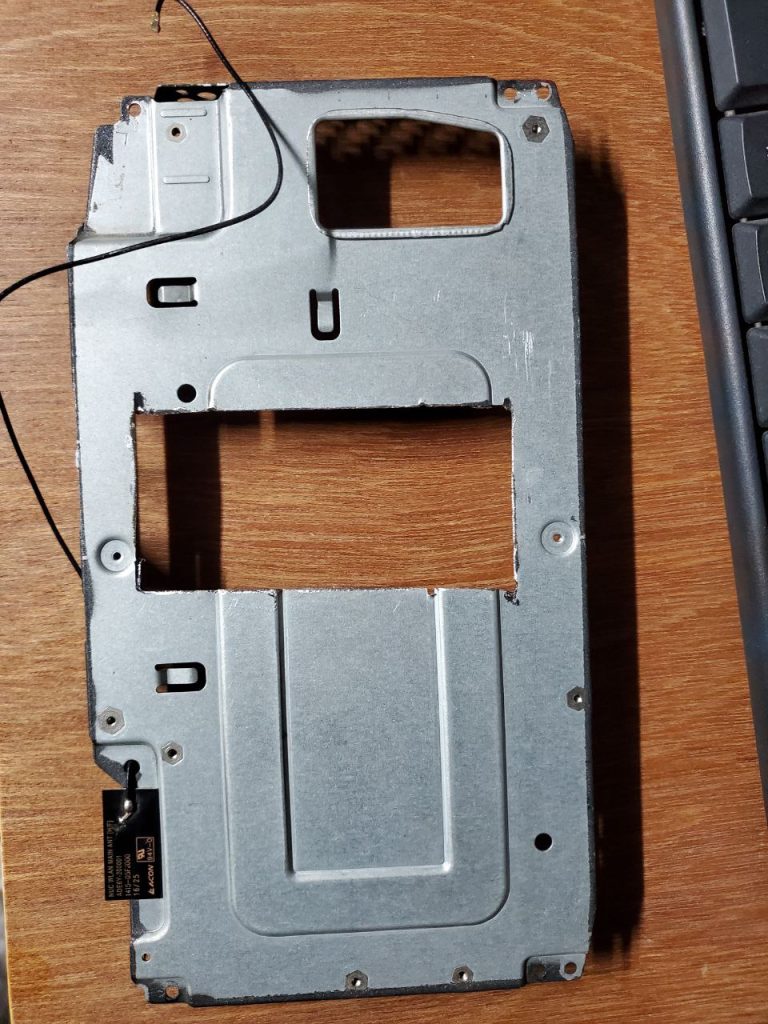
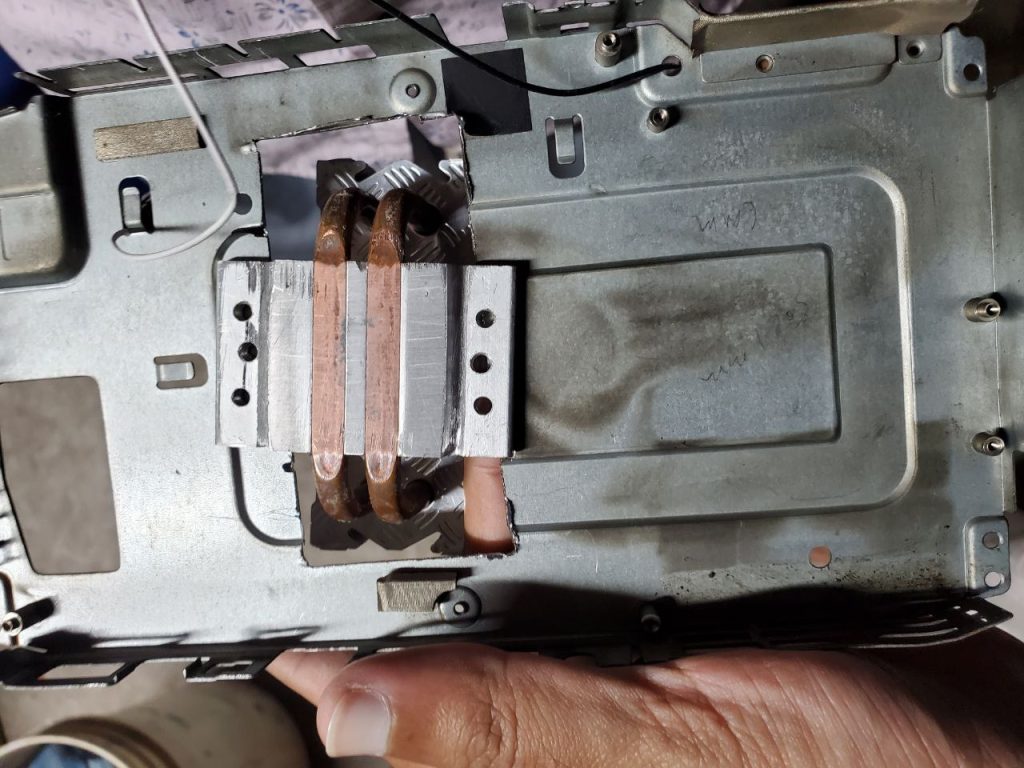
Next, I cleaned the motherboard and carefully wiped the processor die with alcohol wipes to remove any residue from previous thermal paste.
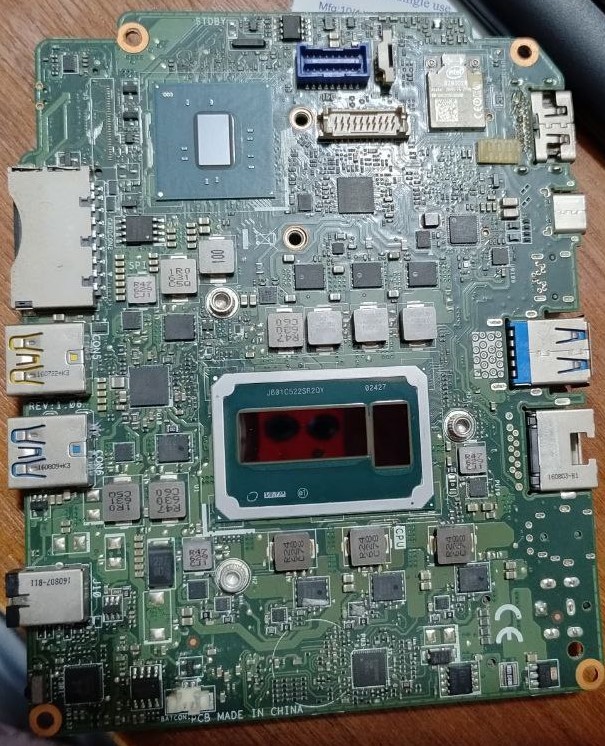
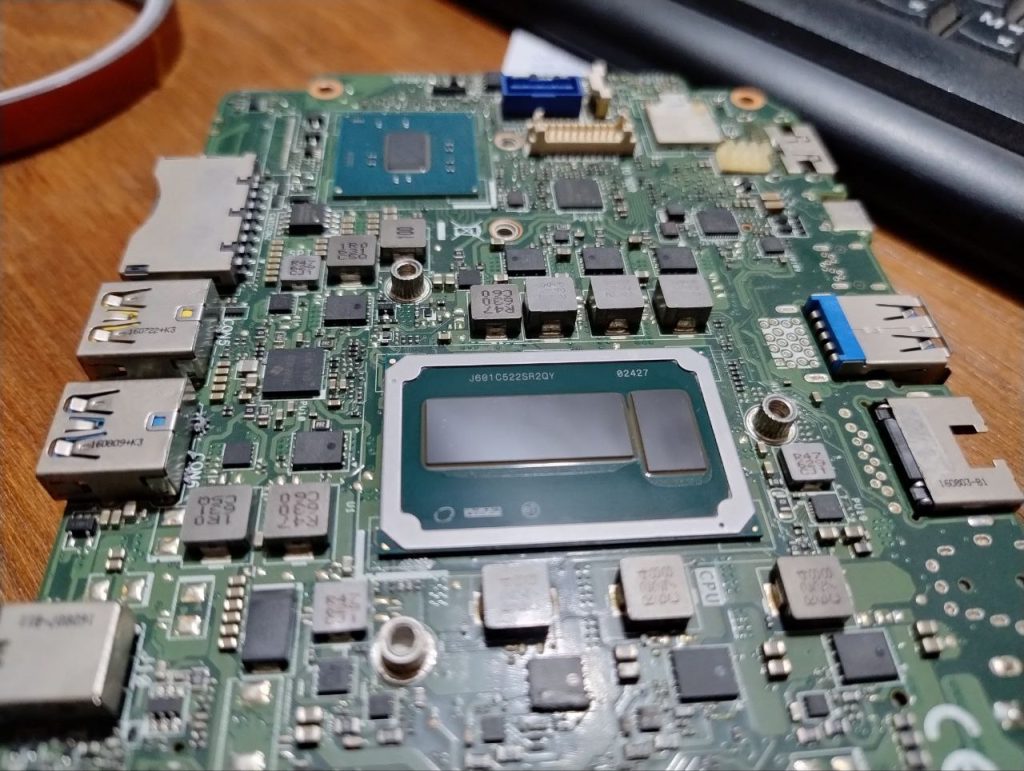
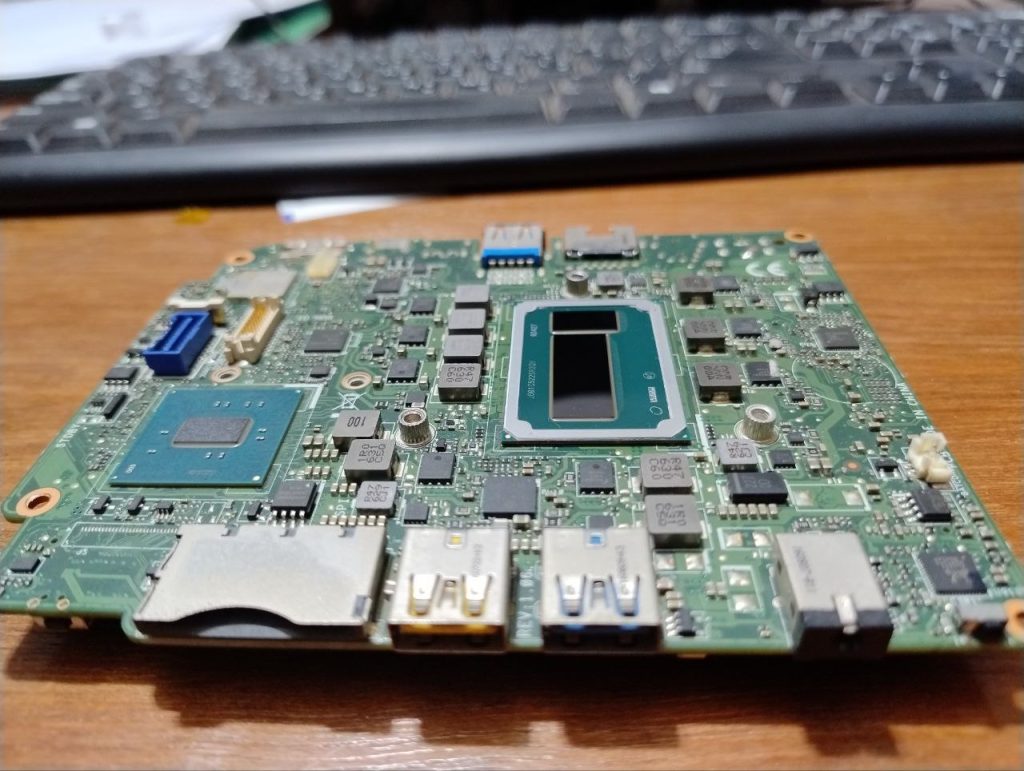
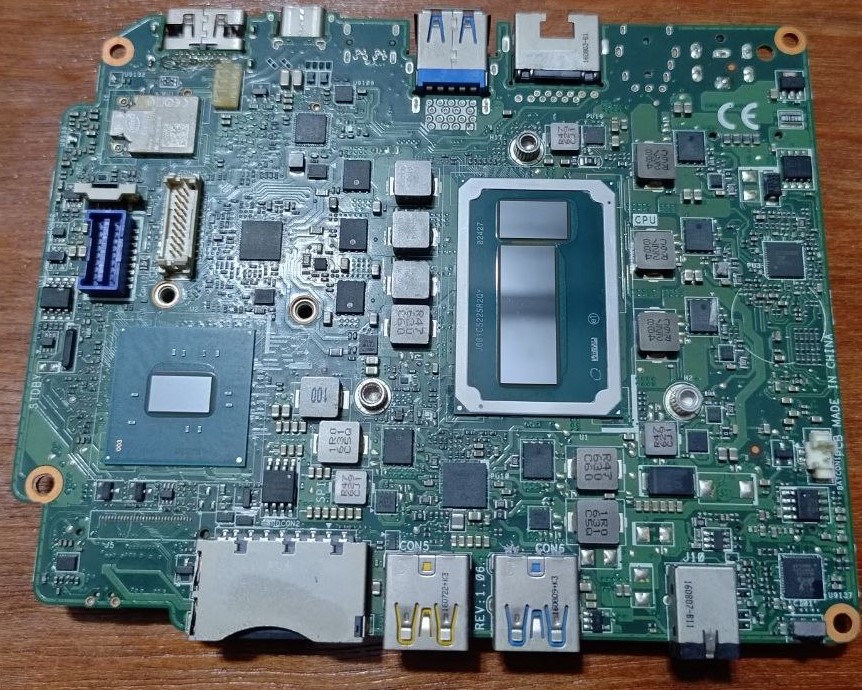
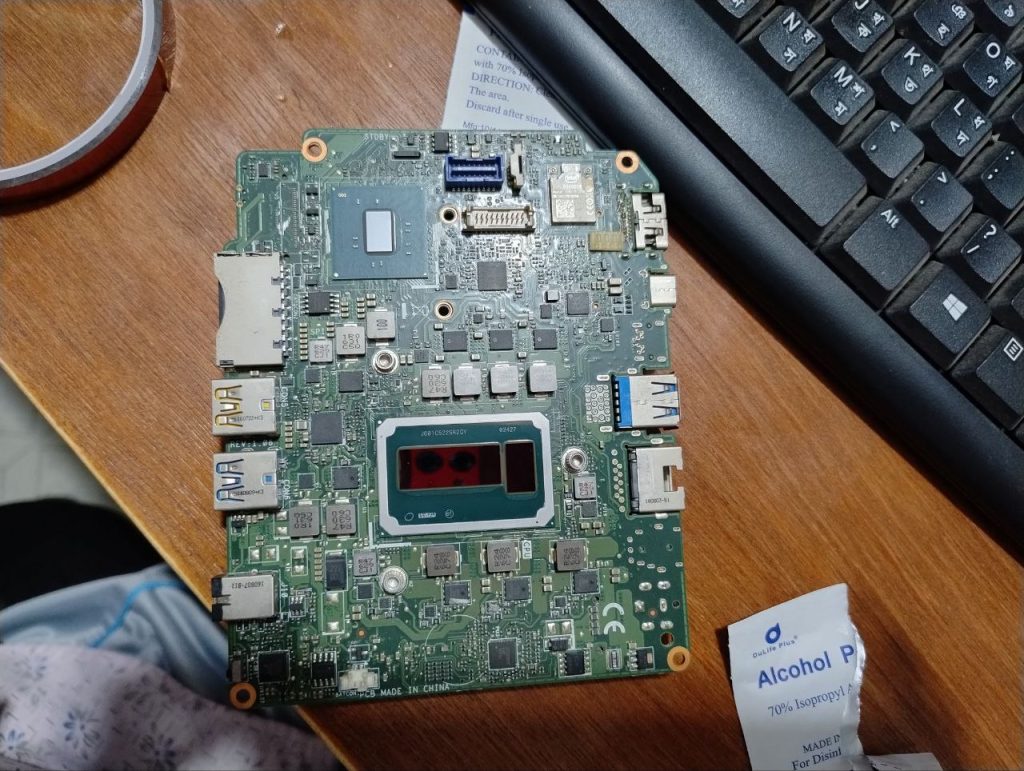
I then taped the motherboard well, as I thought the heatsink, which is press-fit rather than screwed, might move and short the inductors near the CPU die.
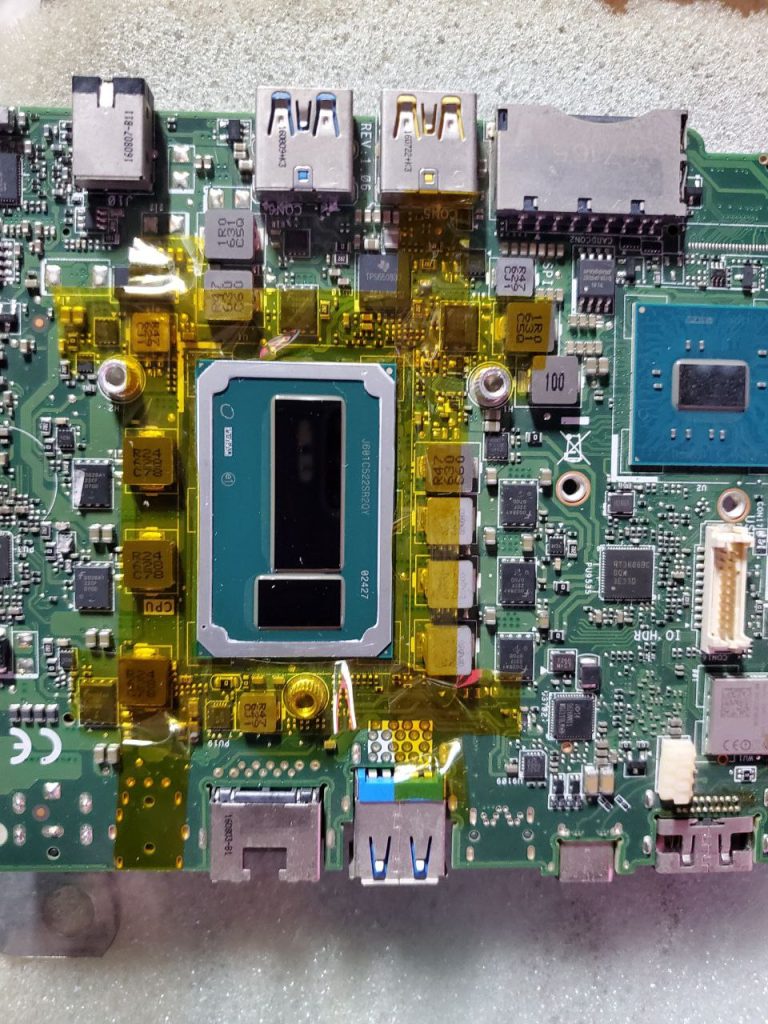
I applied the proper amount of thermal paste over the CPU die and the die near it. With the help of my younger brother, while he installed the motherboard, I aligned the heatsink over the CPU die. It was a bit difficult to place the motherboard back into its original position and screw it because the heatsink I used had a base 1 mm thicker than the available space above the CPU die and the top metal cover. However, we managed to screw the motherboard properly. The heatsink fit so tightly that even without glue, the NUC could be lifted by holding the heatsink.
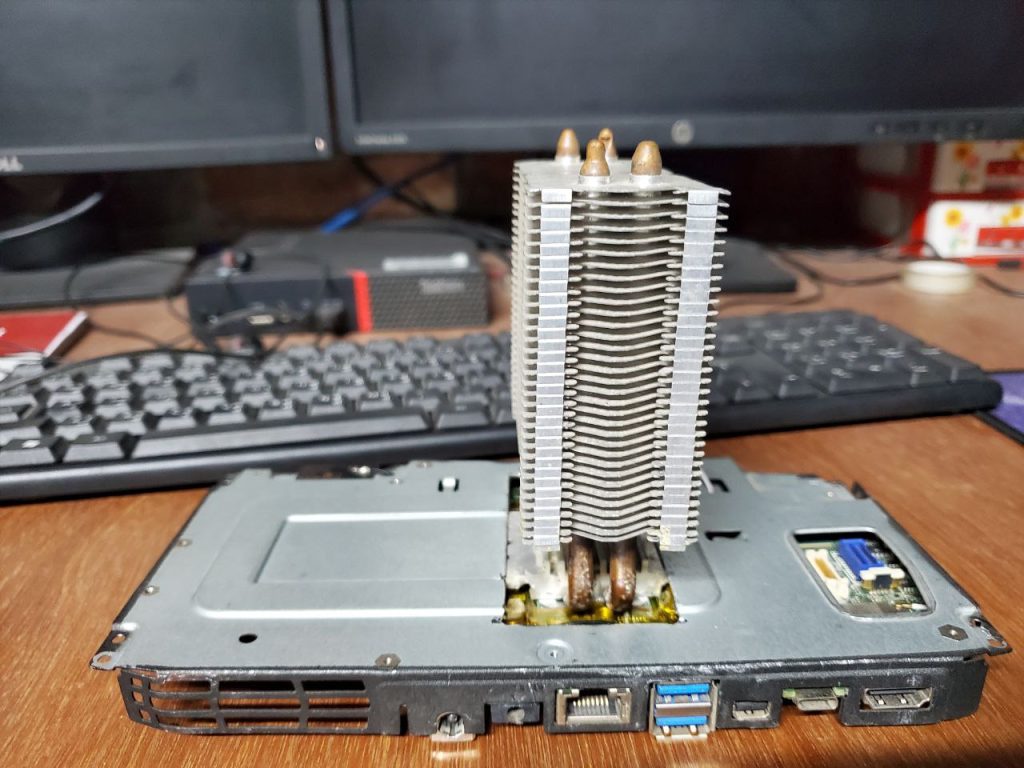
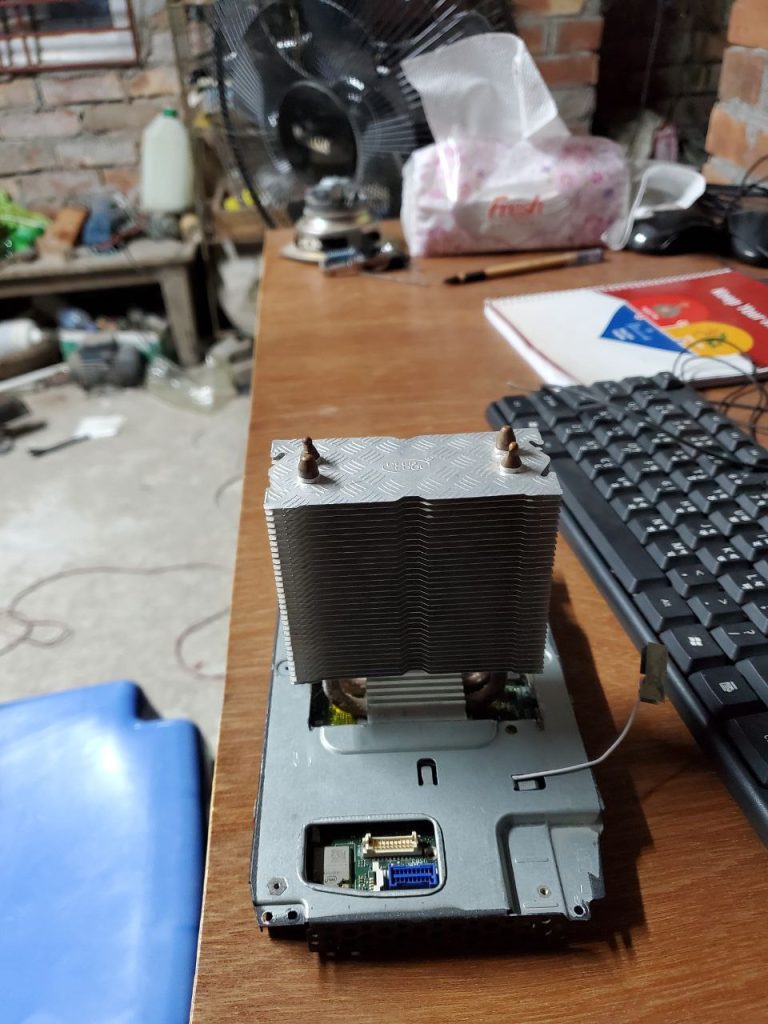
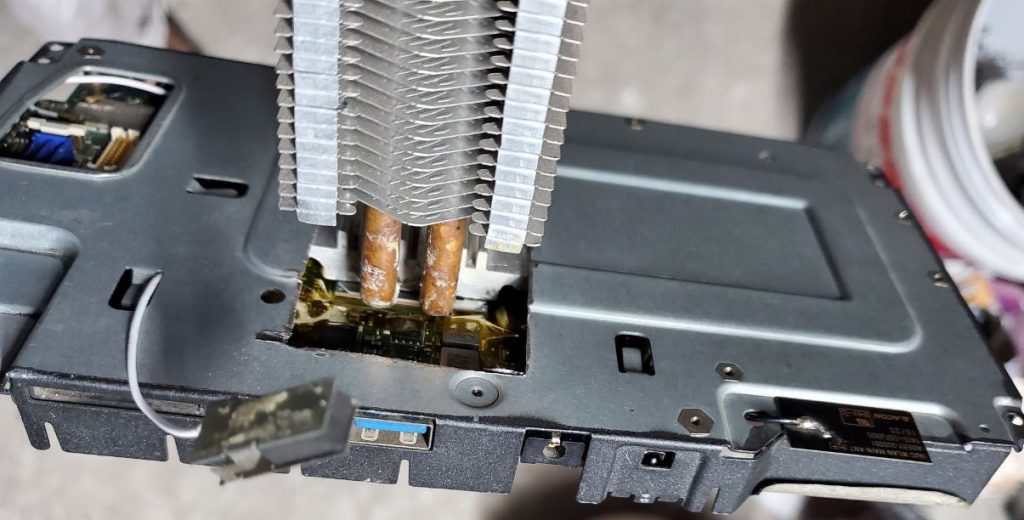
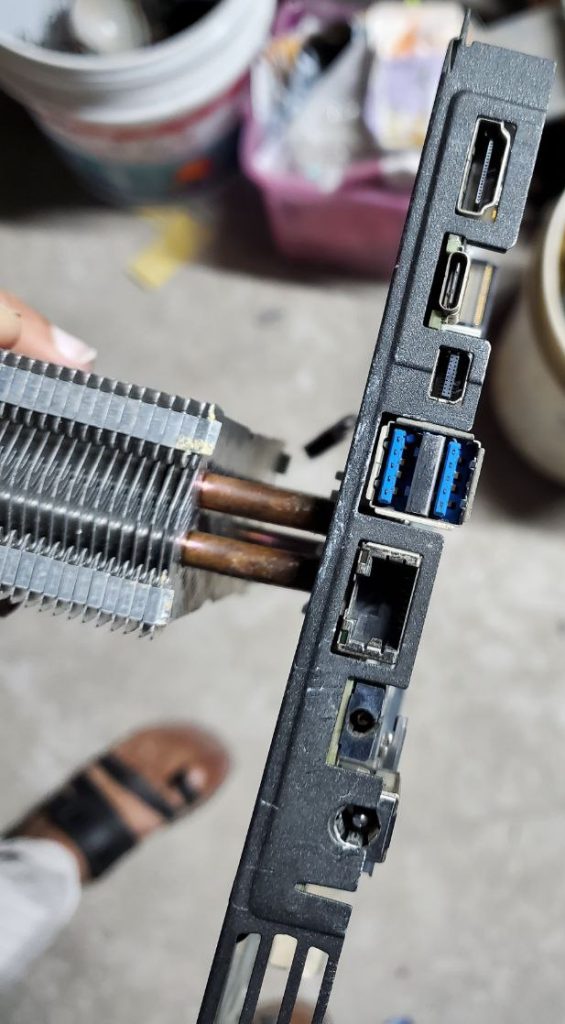
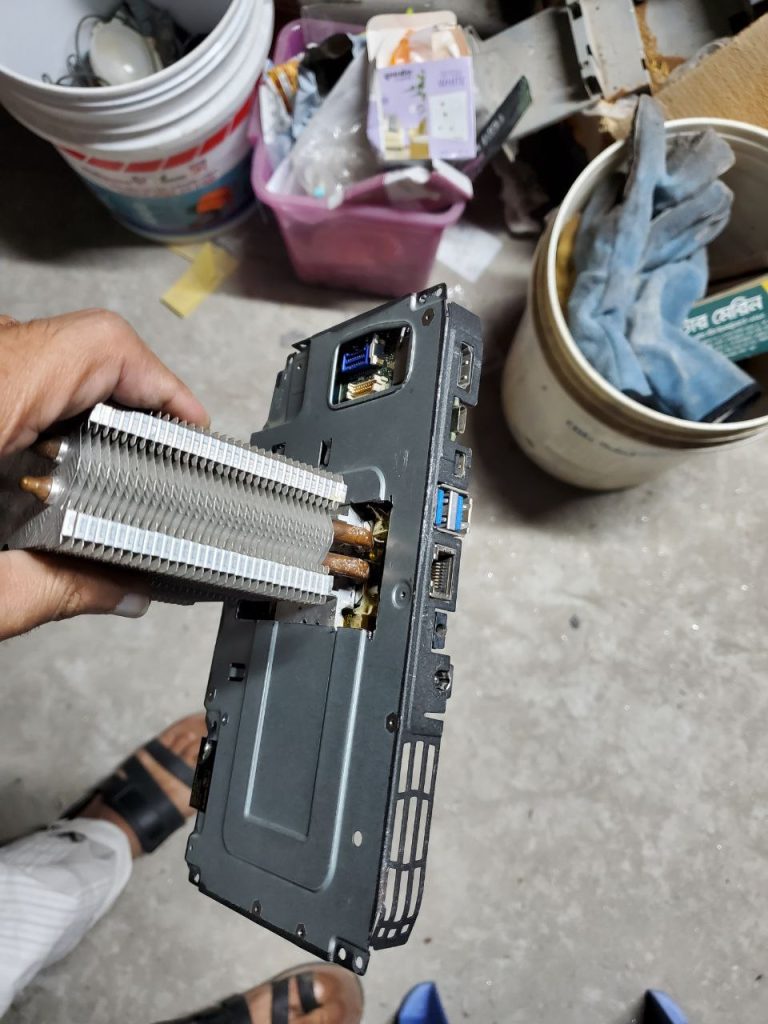
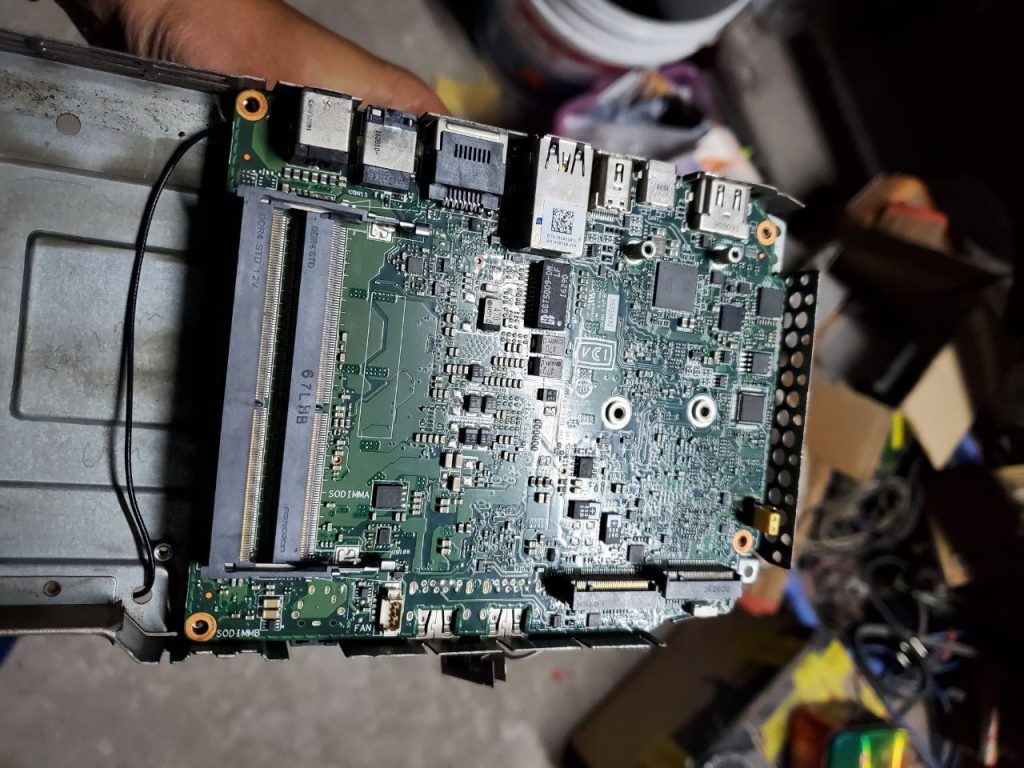
Both the motherboard and the top metal cover bent slightly.
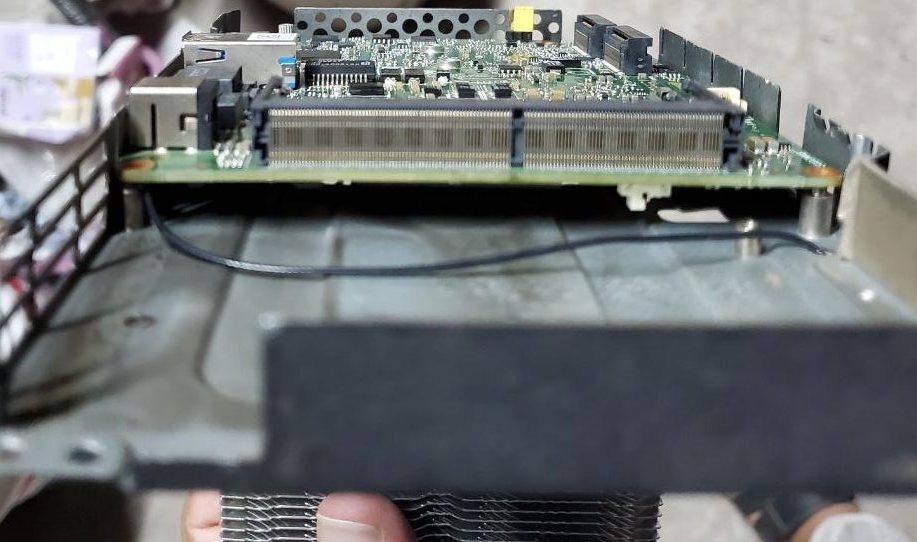
Initial Test Without a Fan
I tried running the NUC without the fan. It heated up slowly but became so hot that I couldn’t touch it within five minutes while running Windows 11.
Installing the Fan
To address this, I installed a 12V fan over the heatsink. The wiring was straightforward: the red wire from the processor fan connected to 12V+ and the black wire to GND. I later taped the joints, though I forgot to take a photo. Don’t forget this step if you’re following these instructions.
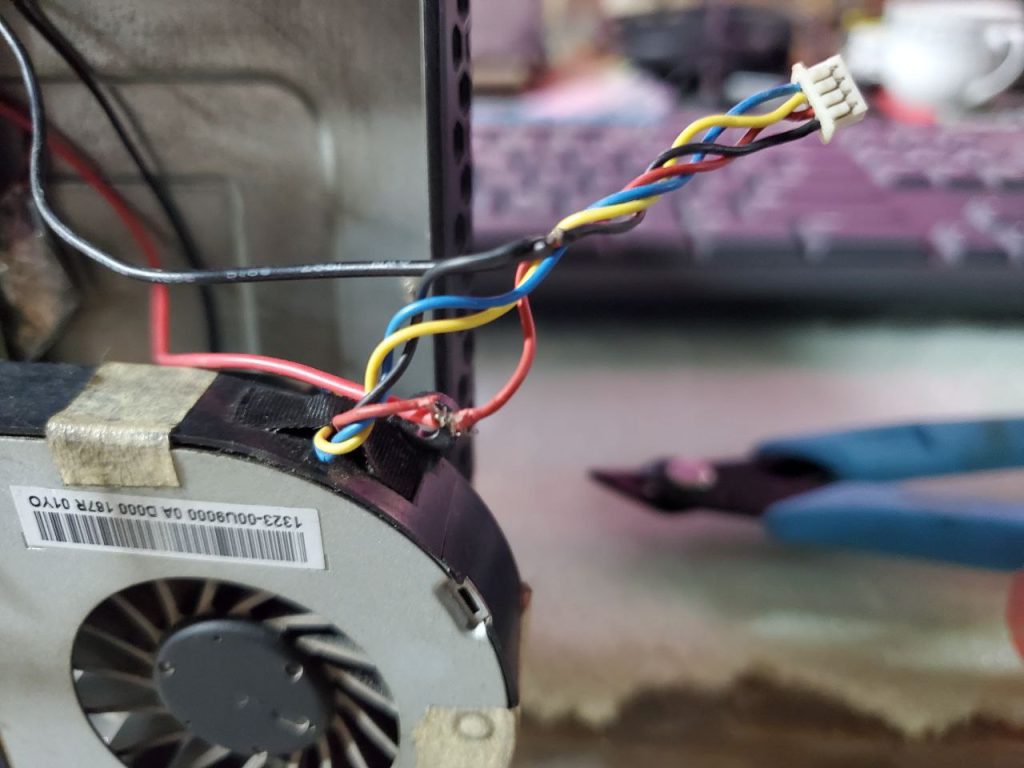
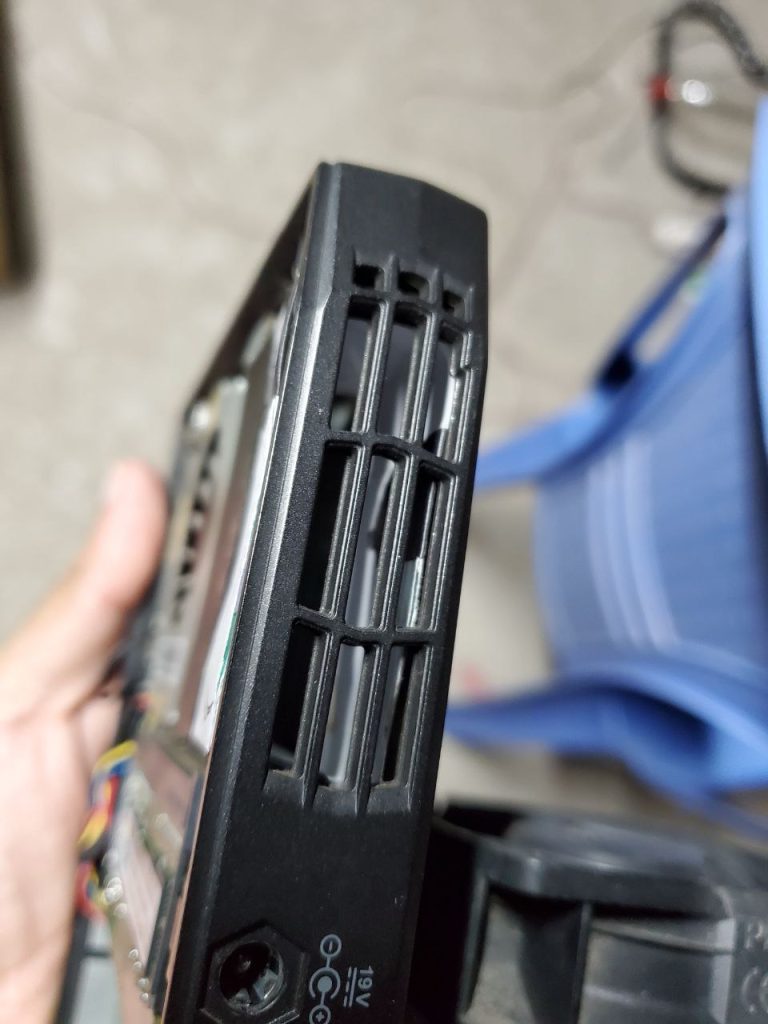
I decided to keep the previous fan inside the NUC to create airflow when the case is closed, helping cool down the RAM, SSD, and other chips. As there was no processor heatsink like before and I assumed the air would tumble inside, I made a paper box the size of the heatsink. This can easily be made by wrapping paper around the built-in heatsink. Here’s how it looked after installing the paper air guide:
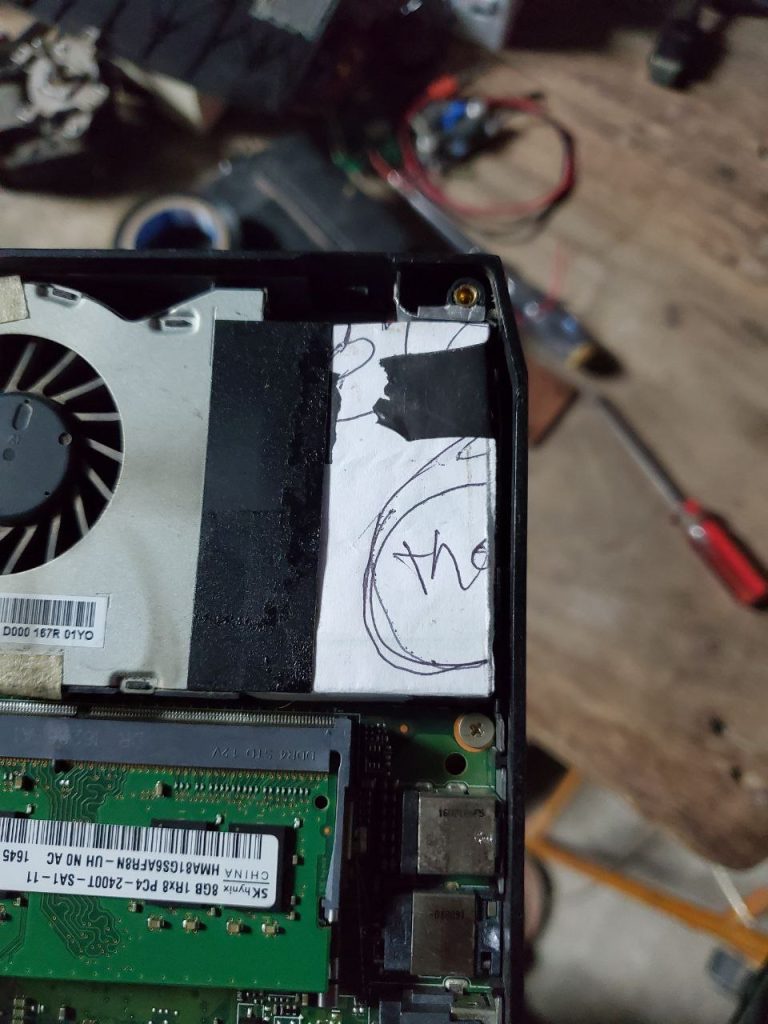
Stress Testing
After these modifications, I ran normal tests and a stress test using CPU-Z. This was with the default BIOS settings, as I had reset the BIOS after removing the CMOS battery during the work.
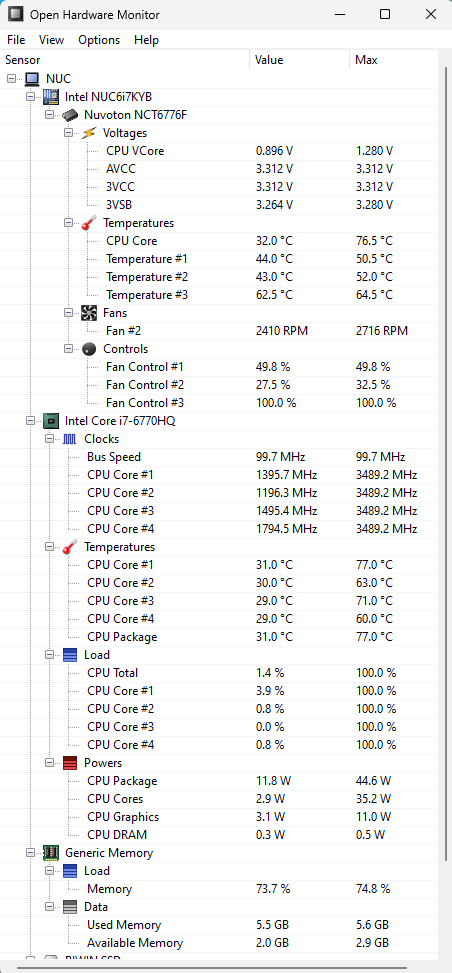
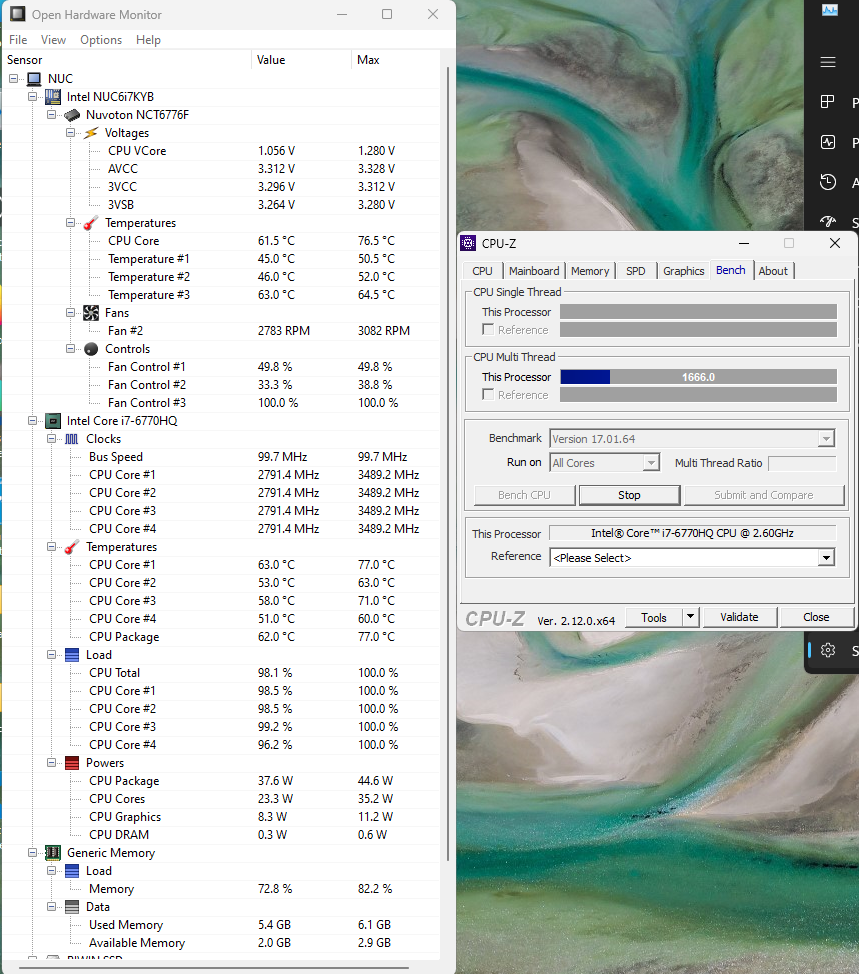
Once the testing was successful, I reinstalled all the side panels. However, I had to cut the top cover near the middle and make two notches to fit the heatsink properly.
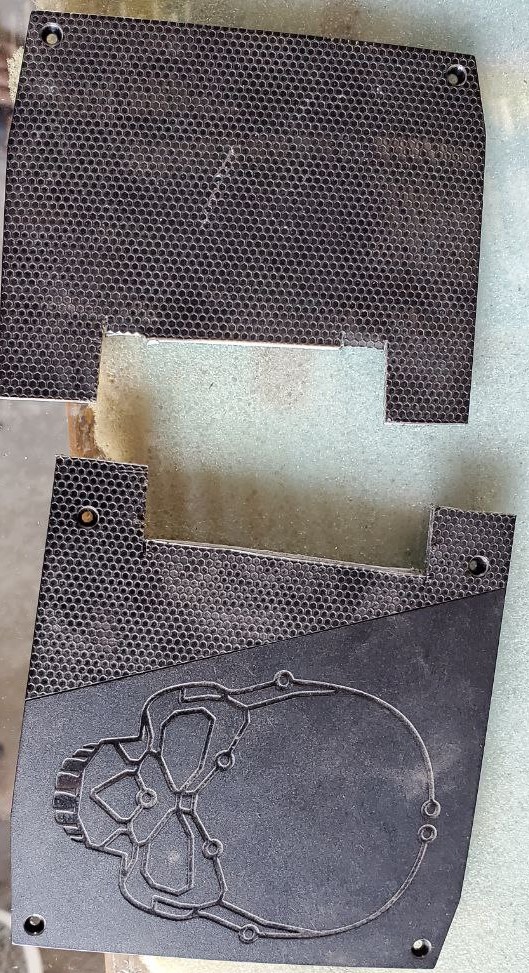
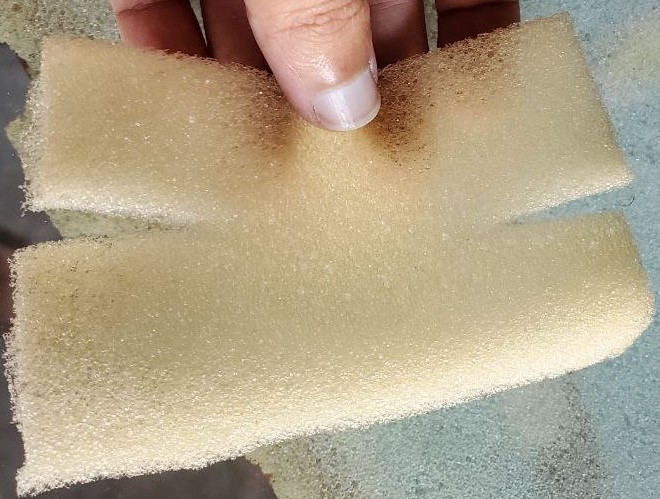
There was a large gap left, and I worried that dust or metal particles could enter and cause a short circuit. I decided to cover it with a thin sponge. I cut a sponge sheet to the appropriate size and placed it there.
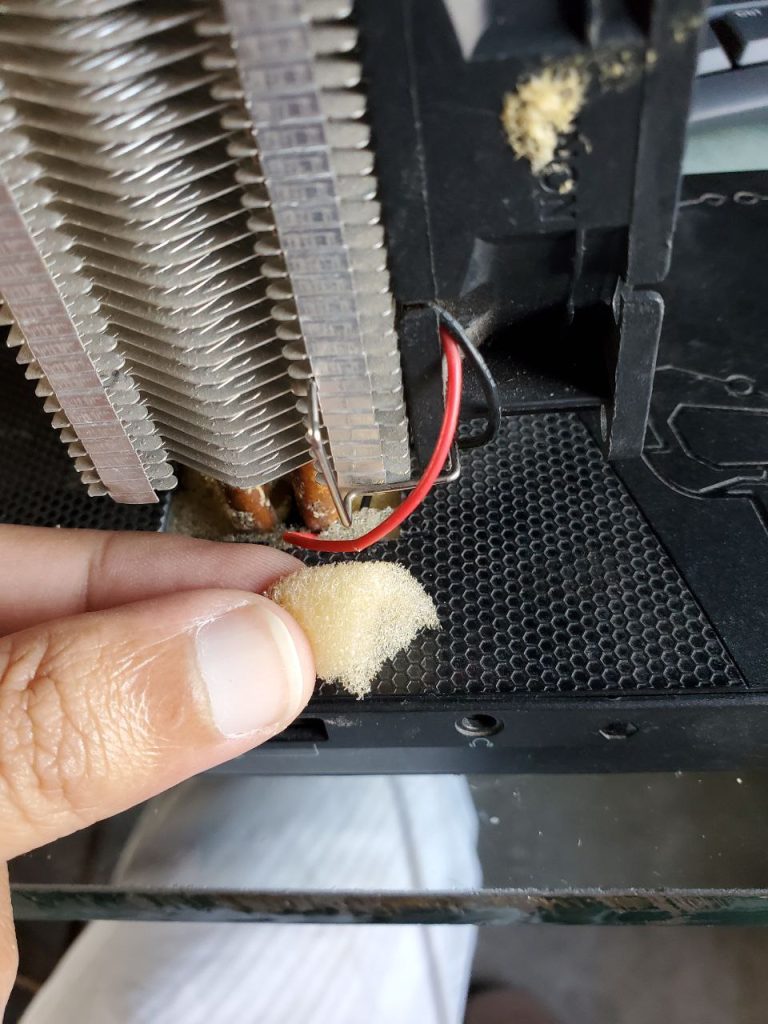
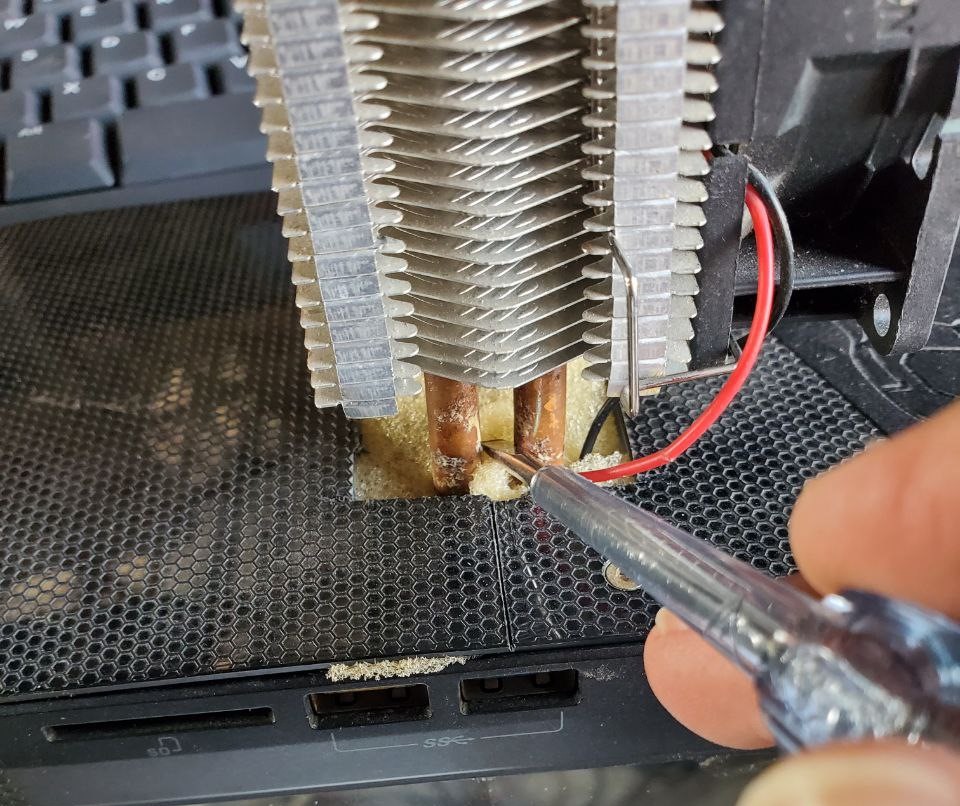
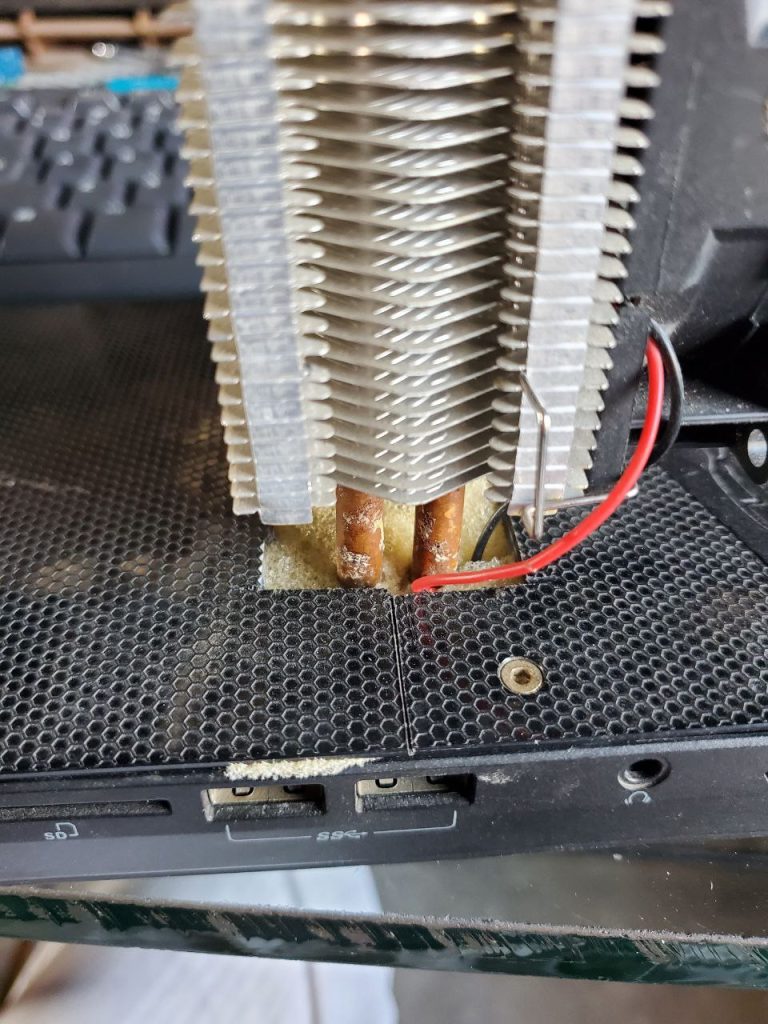
Additionally, there were two small gaps between the two cooling pipes of the heatsink. I covered these gaps with small sponge pieces, gently pushed into place with a neon tester.
Final Results
Finally, the mission was successful. Although the normal operating temperature increased slightly, even under stress, the processor temperature did not exceed 80°C.
